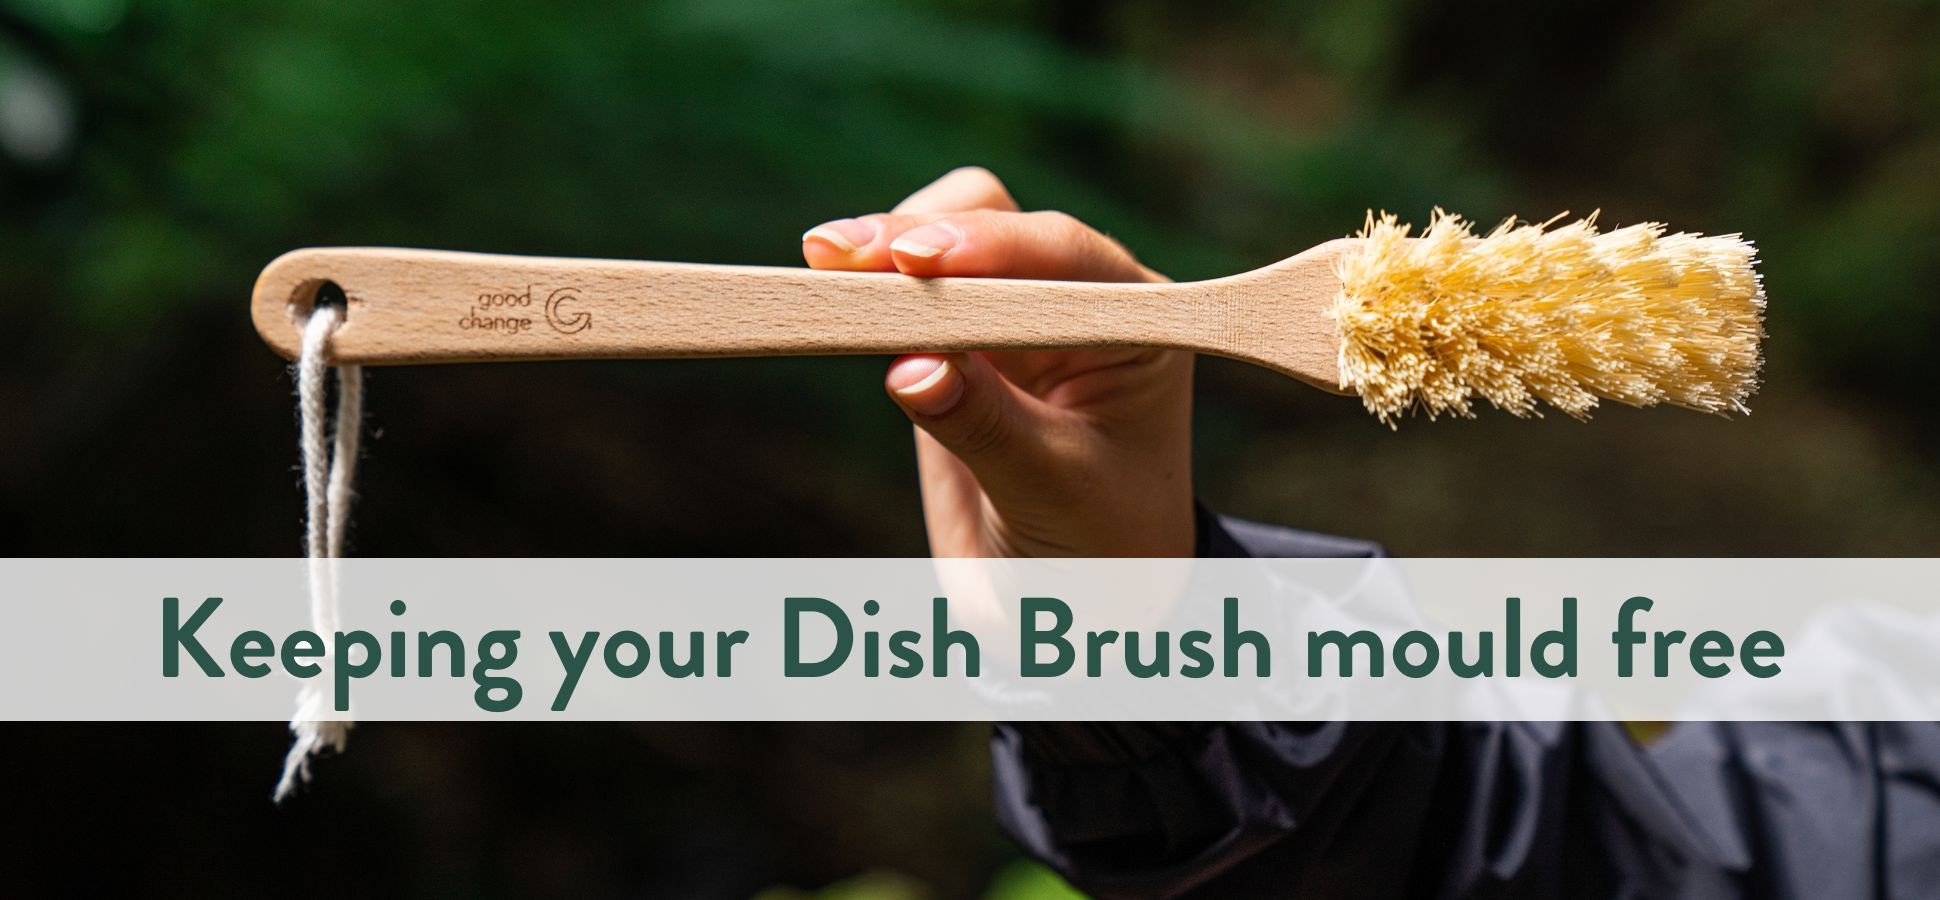
The Ultimate Guide to a clean, mould-free Wooden Dish Brush
It's a question we often encounter:
"Why does my Dish Brush go mouldy?"
And it's a really simple answer, nature is doing its job!
Our brushes are made of natural, unadulterated wood which gives them their beautiful aesthetic and means they're biodegradable. The first step in the process of wood breaking down is, you guessed it, mould!
However there are ways of keeping your Brush mould free. We've broken this down into 3 sections:
1) Preventing Mould
2) Getting rid of Mould
3) Pro tips for looking after your Brush
Read on to learn more!

How do I stop my Dish Brush from going mouldy?
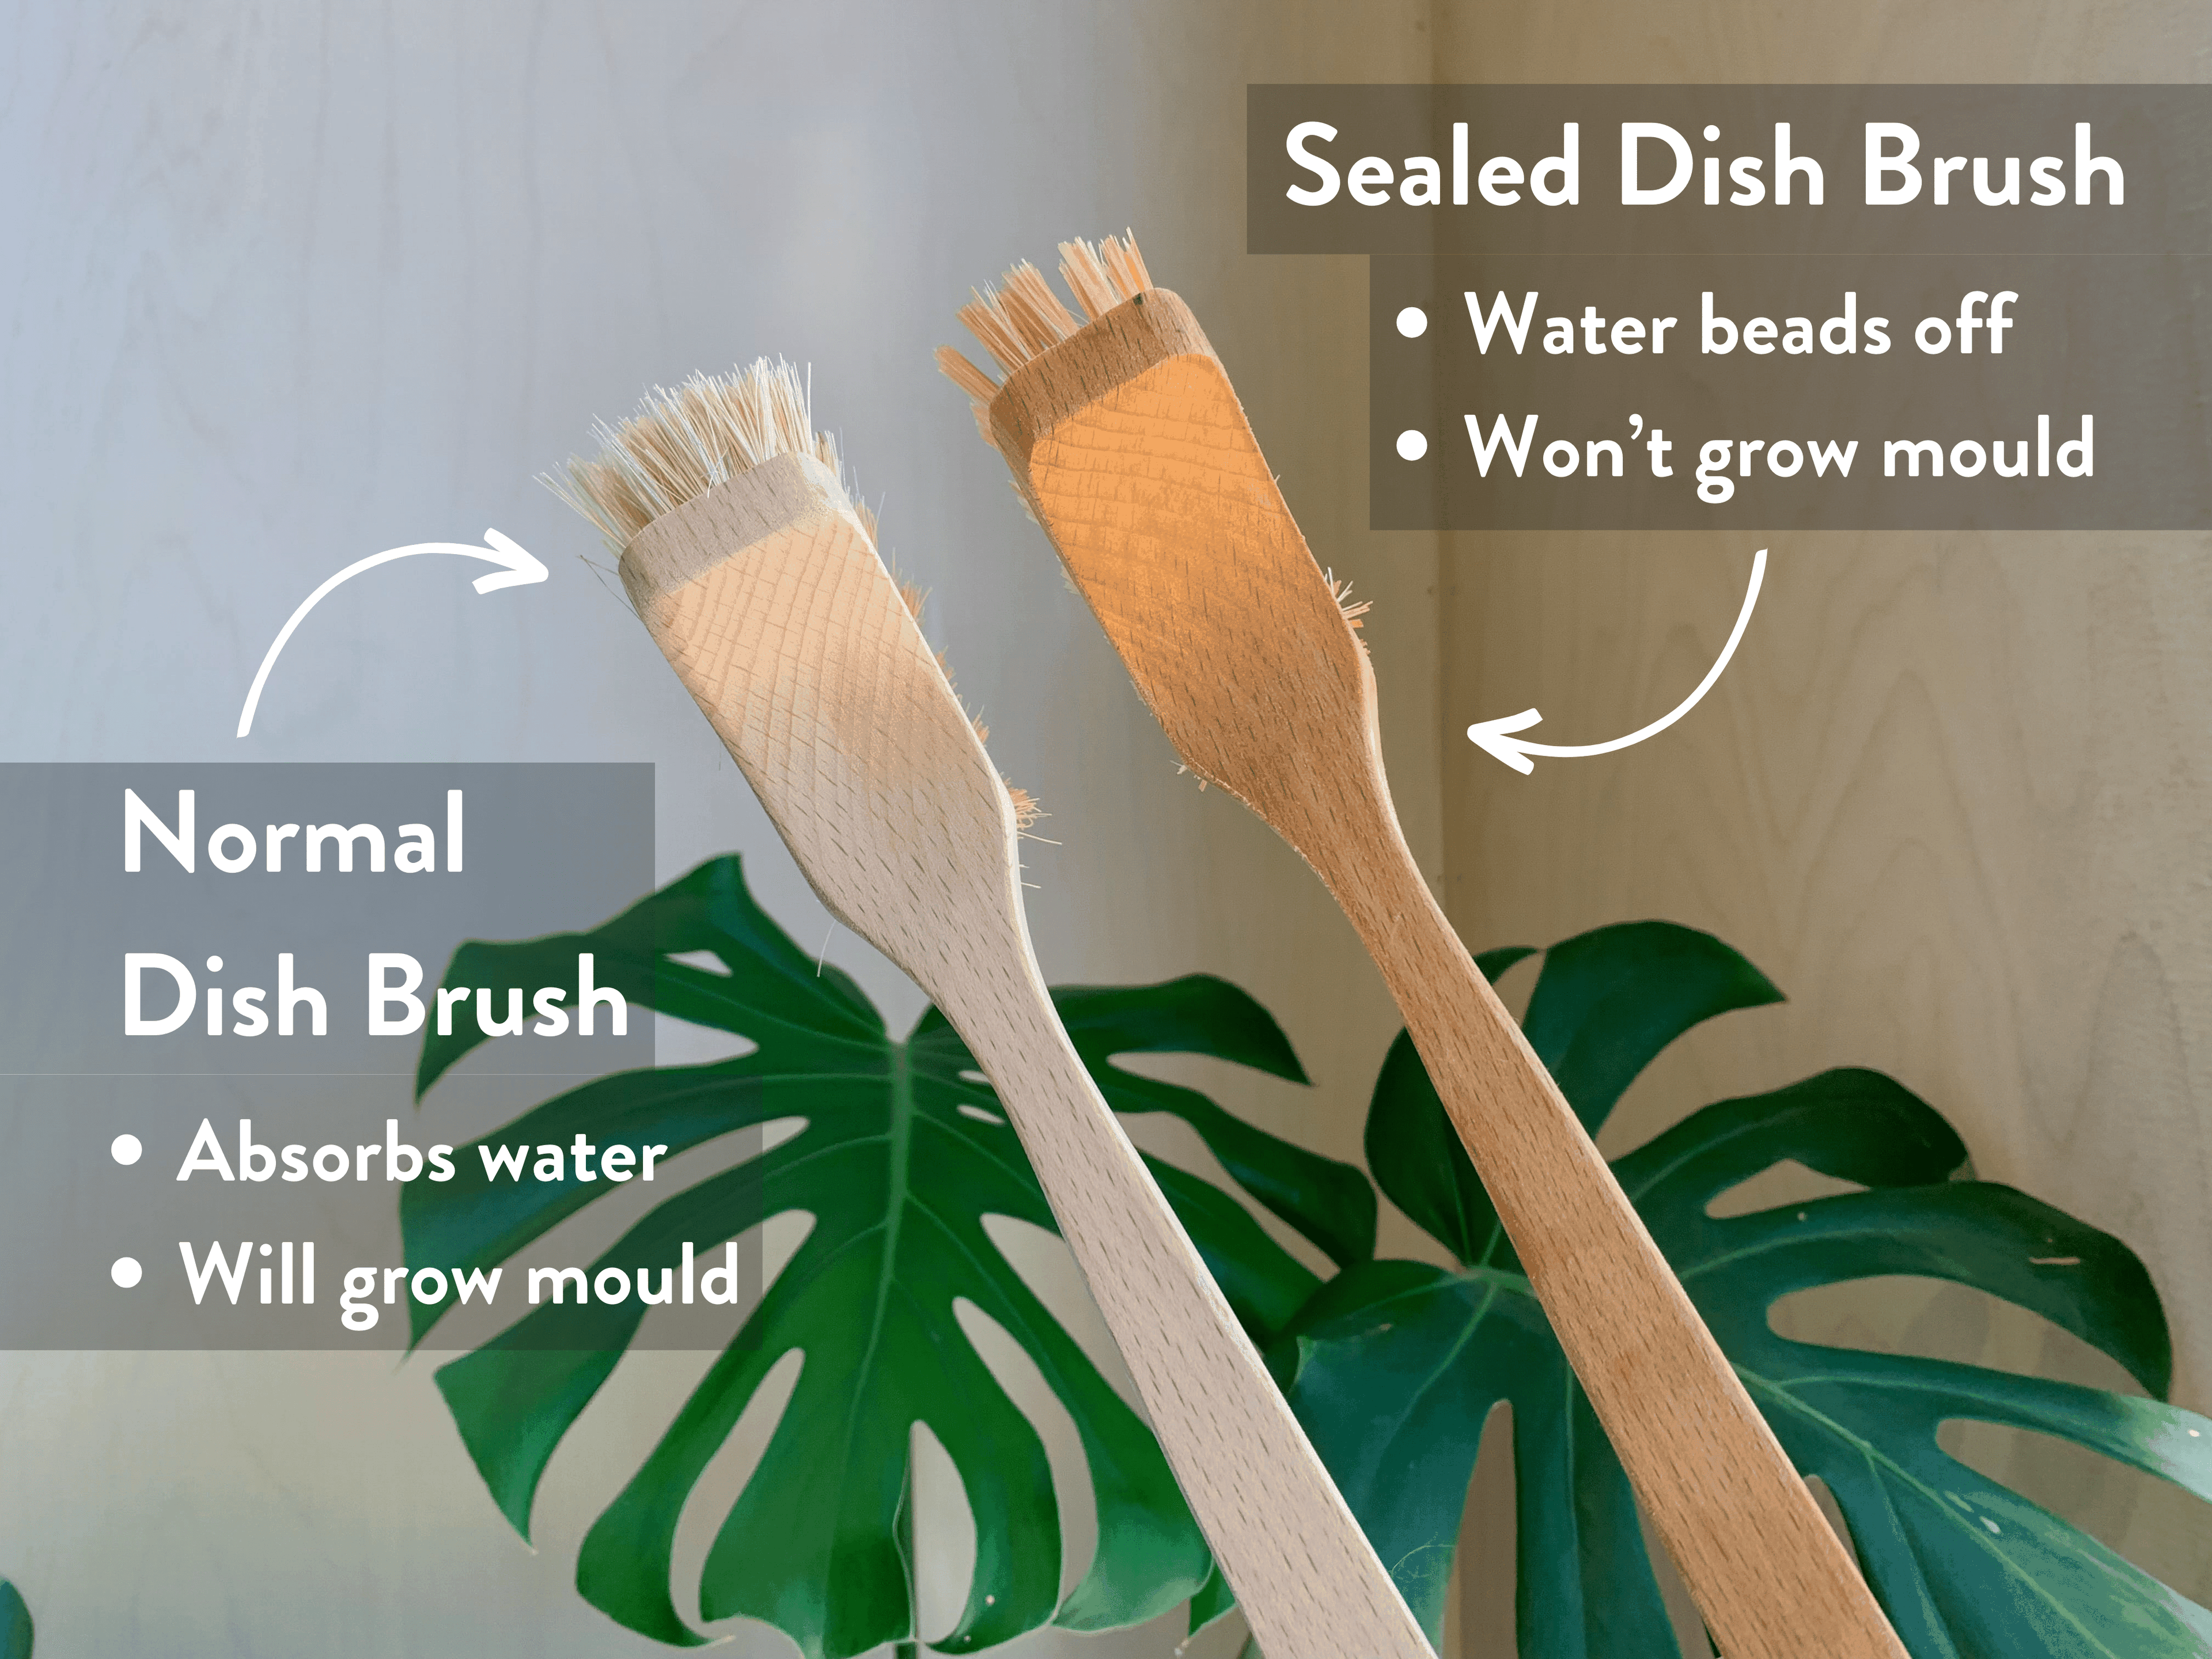
We've come up with a super easy recipe for a beeswax balm that can be applied to your Dish Brush. This balm acts as a seal and makes water bead off your dish brush, rather than soaking in to the wood.
This mixture stops the mould from taking hold because no moisture = no mould!
The best part is all you need to make this recipe is 2 ingredients: Cooking Oil (like Sunflower/Rapeseed) and Beeswax
Use our recipe and step by step guide below to mould-proof your Dish brush.
Sealing Your Dish Brush: A Step-by-Step Guide
-
Cut your beeswax into blocks
*tip: use a microwave to soften the beeswax 1-3mins for easy cutting.
-
Mix a 1:1 ratio of Beeswax:Sunflower Oil in a glass or metal bowl.
*tip: Any oil that's liquid at room temp & has a decent shelf-life will work (Some oils go rancid relatively quickly, save your olive oil for eating!)
-
Get a pot water up to the boil
-
Place the bowl with the Beeswax and Oil over the pot and stir occasionally until all the Beeswax has melted
*tip: use a bowl that's a bit bigger than the pot so you can easily move it
-
Pour the liquid mixture into a glass jar, we recommend a funnel to avoid spills.
-
Set the mixture
-
Coat your dish brush evenly with the seal mixture.
*tip: wear gloves to avoid a mess, although our team enjoyed how moisturised and soft their hands felt after applying the seal!
-
Place the brush in an oven at 50ºC for optimal absorption for 10-15mins.
*tip: the oven isn't necessary, it just speeds the process up by helping the brush absorb the seal more quickly. You can just leave the brush overnight then apply the second coat the next day.
-
Repeat once for a second coat
-
Let it cool, rub in any excess seal and your brush is ready to use!
*tip: make sure to reapply when necessary, we've found this seal lasts between 2-4weeks depending on Brush use!
Check out the video below👇

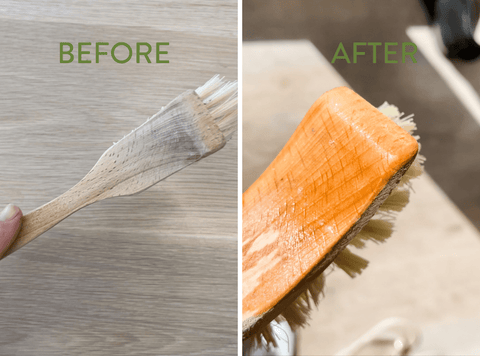
See The Difference
This seal will last 1-2 years at room temp, and far longer if you store it in the fridge - just make sure it's out of direct sunlight.
You can also buy pre-made solutions, like BeeSeal
Help! My brush is already mouldy... How do I get mould off a Wooden Dish Brush?
If mould has started growing we recommend using a mix of white vinegar, dish soap and a thick dose of sunshine to refresh your dish brush. See our step by step guide below to get your brush looking its best self again...
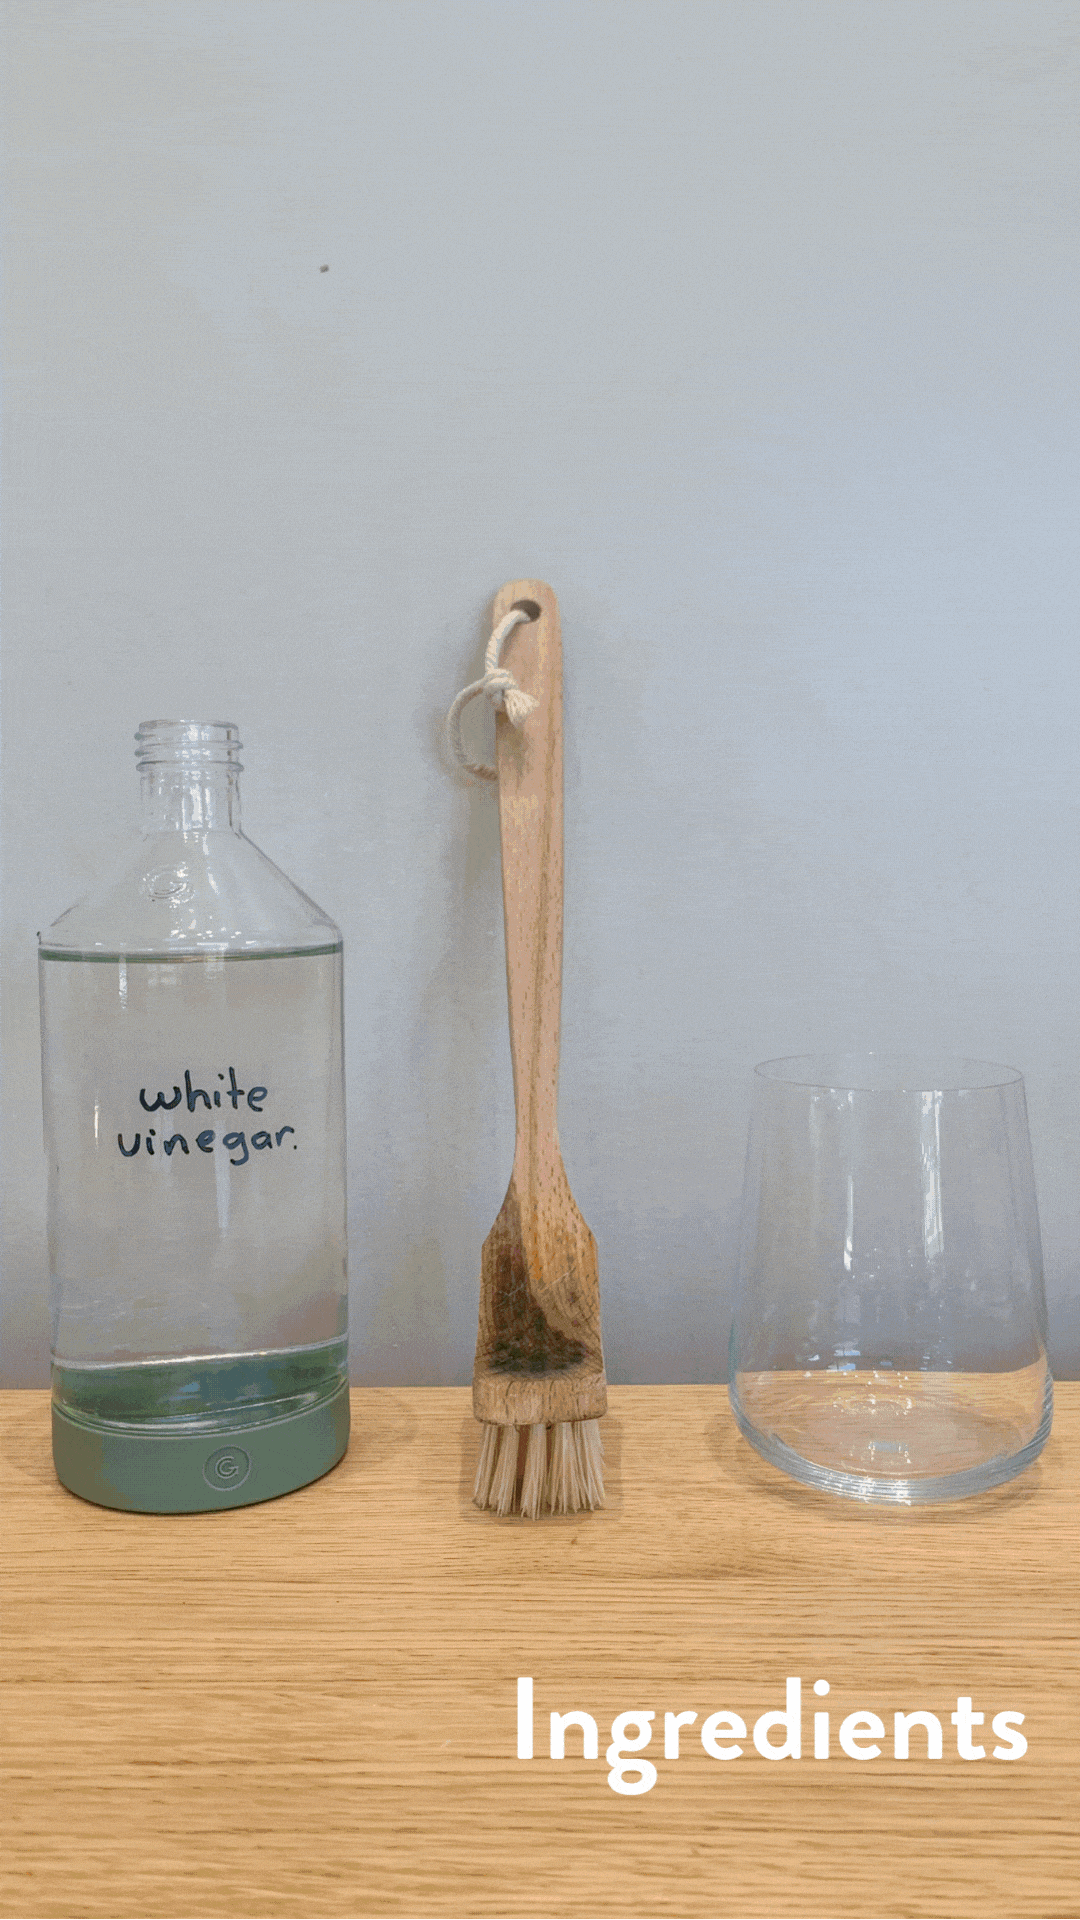
Removing Mould with Vinegar:
-
Fill a cup with Distilled White Vinegar, enough for the entire dish brush head to be covered.
-
Add a dash of liquid soap or dish wash liquid.
-
Immerse your wooden brush in the solution for 10 minutes (15 minutes max).
-
Remove and rinse with hot water.
-
Dry the brush in direct sunlight to maximise mould elimination.
Check out the Difference...
Top tips to get the best results...
*Soak your brush for 15mins max*
Any longer could allow the mould to move further into the wood, making the problem worse! It's the combination of the vinegar wash followed by drying the brush that kills the mould, leaving it soaking for too long just helps the mould spread.
*Nothing whitens quite like sunshine!*
This is the key to a great result and all thanks to our Sun's UV rays which will whiten and brighten your dish brush and get it looking good as new.
*Why do you recommend white vinegar?*
To be honest any vinegar will work, we recommend white vinegar because it is cheap and has no extra fragrance or colour.
Pro Tips for Brush care
Don't leave your brush soaking! Leaving it in water means it will absorb more, making it harder to dry and more likely to Mould.
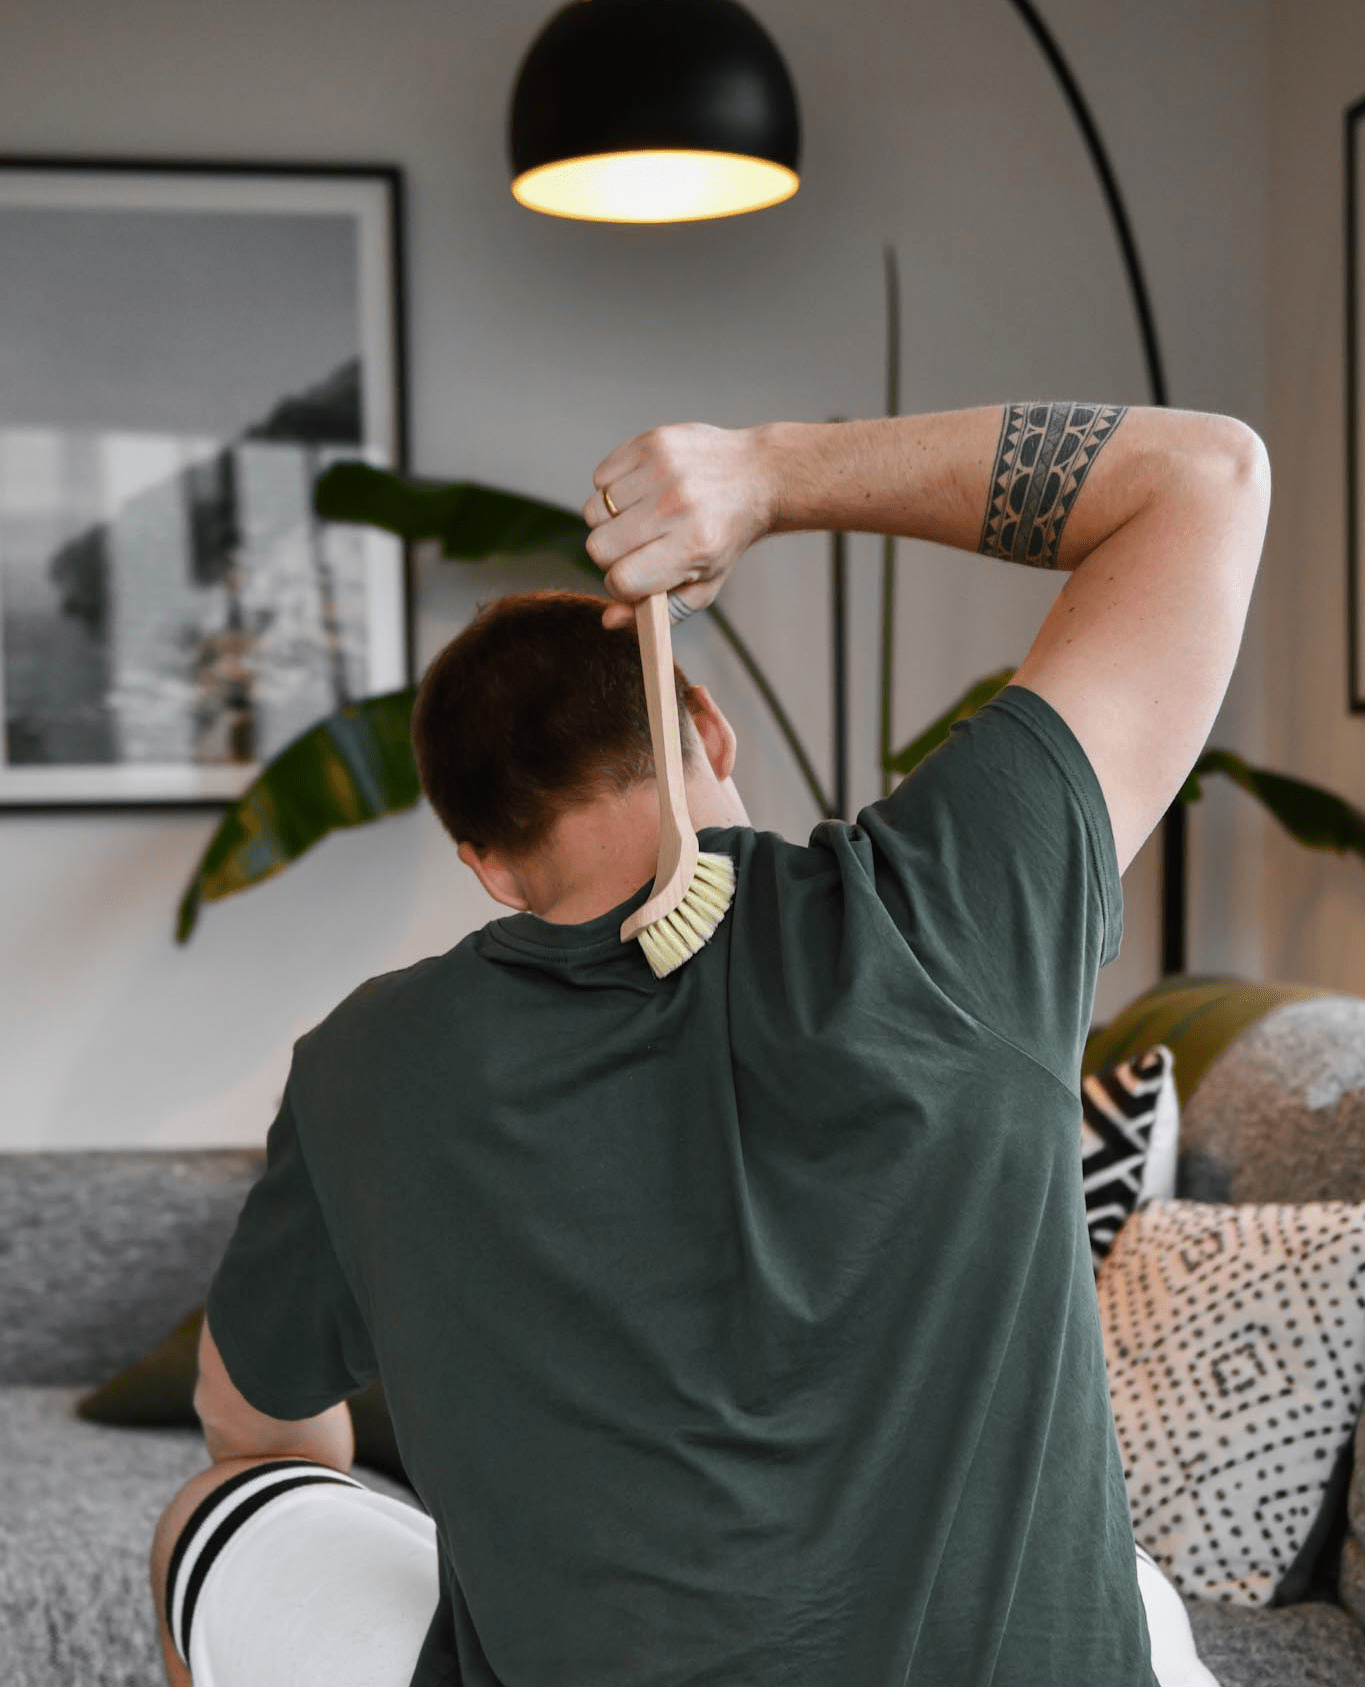
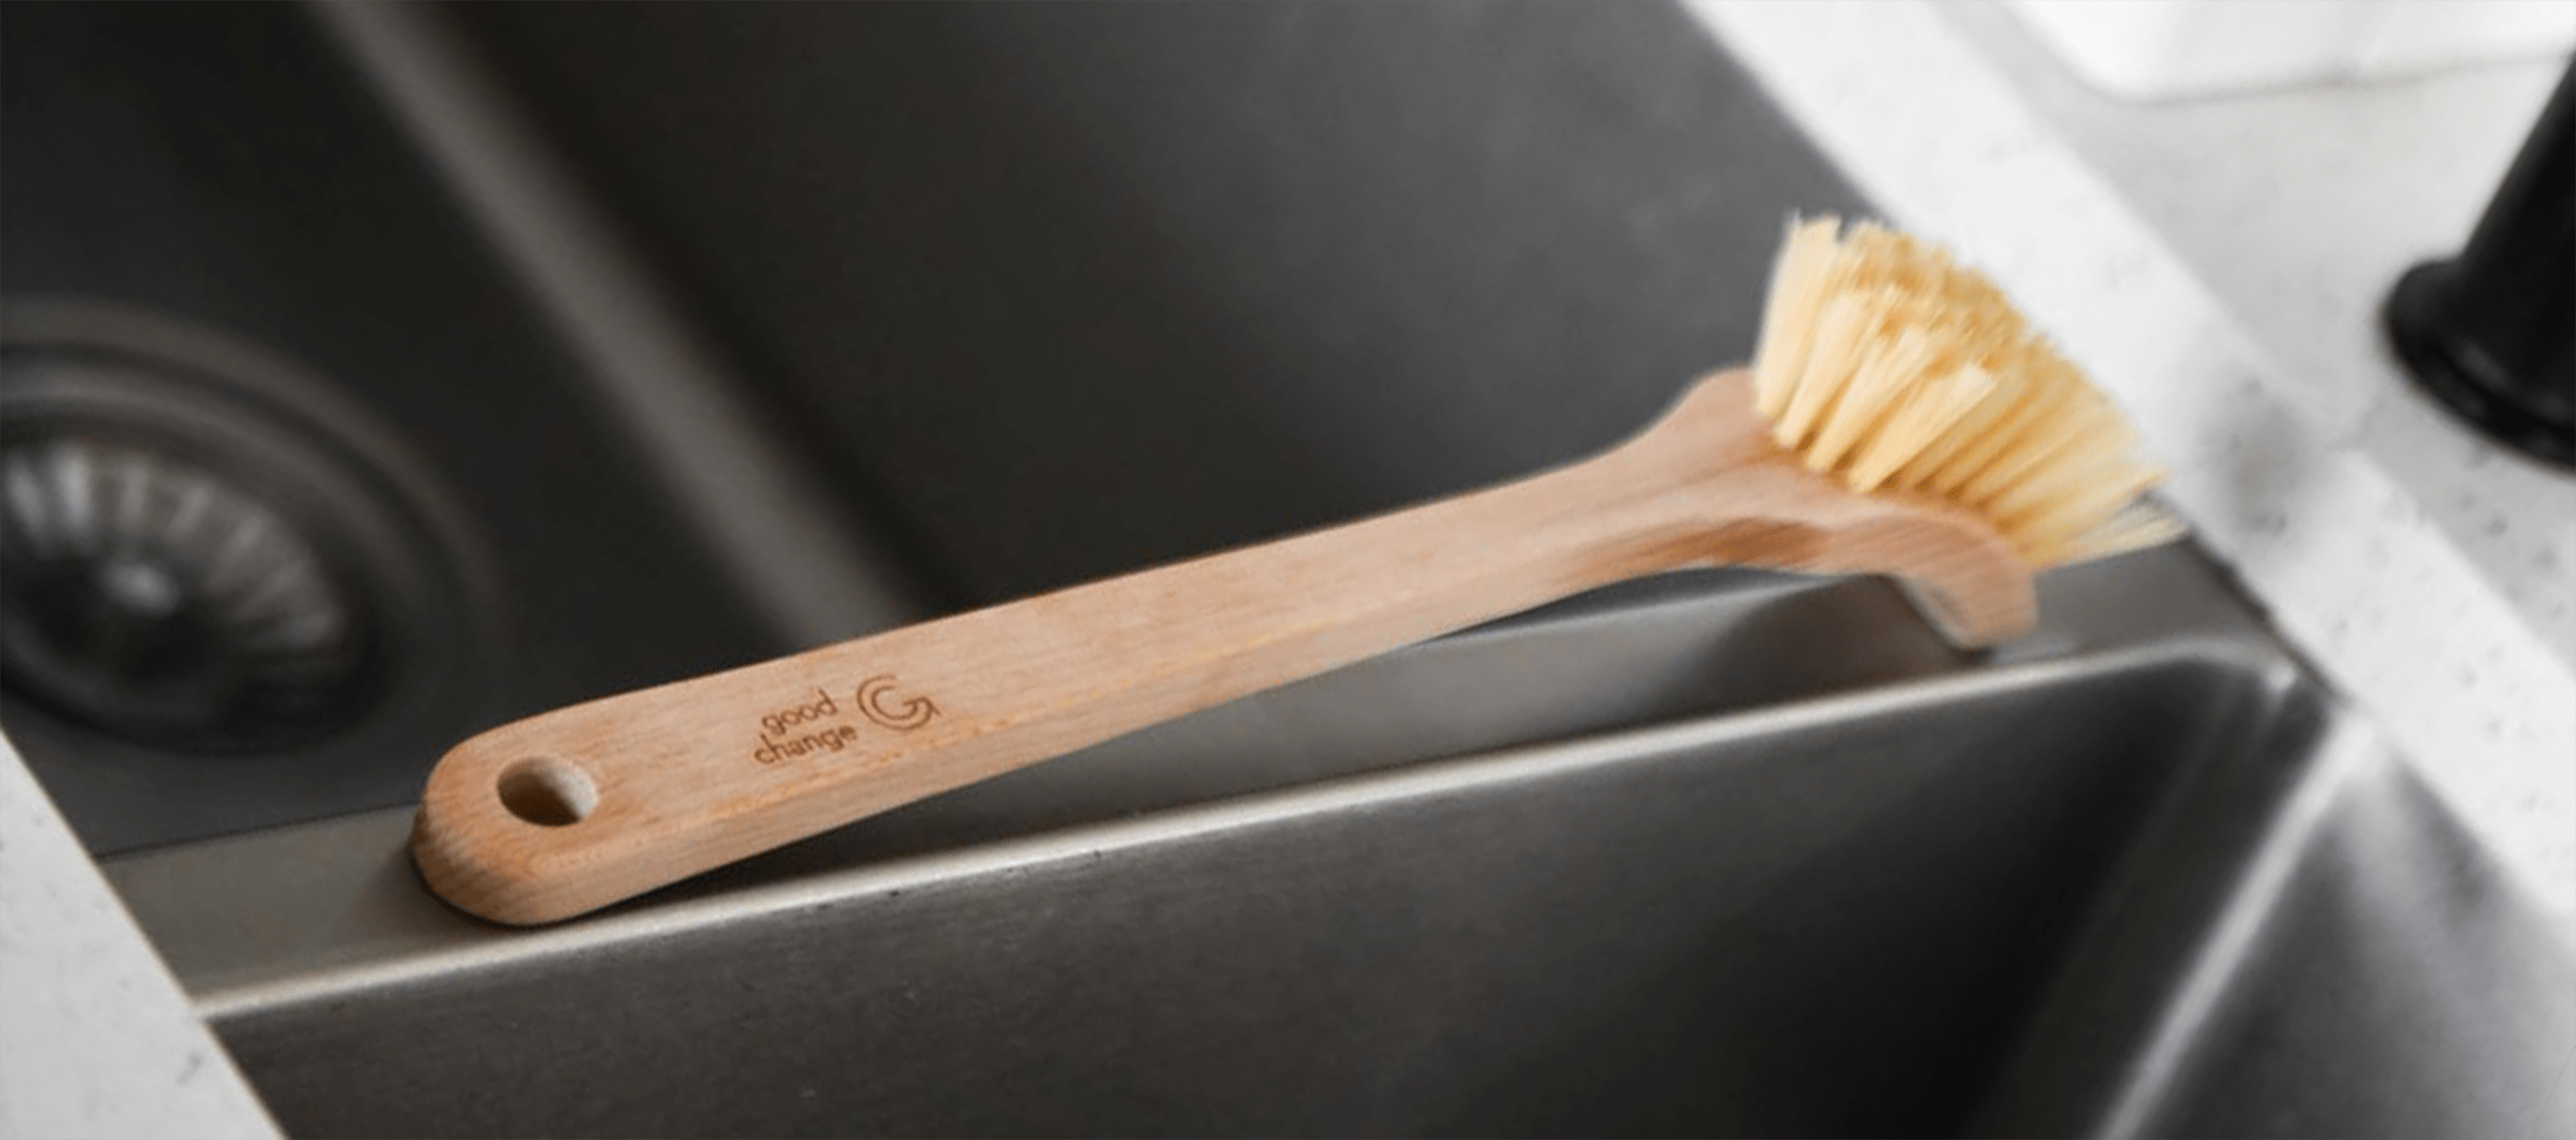
We recommend storing the brush in a way that allows it to dry completely between uses - dry it upside down, with the bristles facing upwards letting the water drip away from the bristle head, which is the part that often goes mouldy. We find storing it upside down with the handle in the jar, or in the corner of your sink works really well.
Worried about your bristles lasting?
Did you know that often we wear down the bristles on our dish brushes because we're using the same part of the brush to scrub every time. A simple way to reduce wear on your bristles is to alternate hands while brushing. This promotes even wear and prolongs brush life!
This also has the flow on effect of helping you learn a new skill (if you're not naturally good with both hands) which can help improve your Neuroplasticity and your brain health. This also helps you be more mindful, as it's much harder to switch to autopilot when you're using your off-hand. Who knew scrubbing dishes could be so good for you?!
When embracing sustainable choices, understanding the quirks of natural products becomes essential.
Our wooden brushes might like to grow a little mould, however with the right care you can keep them looking great!
By taking some simple steps you can keep your Brush in fantastic condition. Remember that the beauty of these brushes isn’t just their aesthetic appeal, but also in their inherent sustainability - the slight maintenance they require is a small price to pay.
So, next time your brush shows signs of mould, see it as a reminder of its natural roots and give it a little TLC. After all, looking after our Eco-products ensures that they keep looking after us – and our planet.
Ready to make a Good Change? Say hello to our range of Eco-friendly cleaning products that really do work!
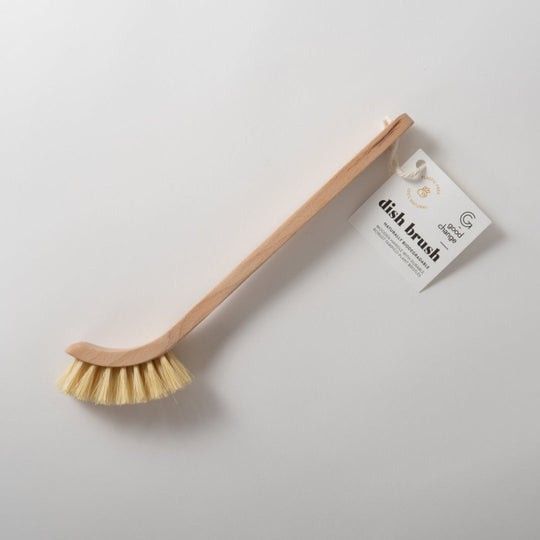
Wooden Dish Brush
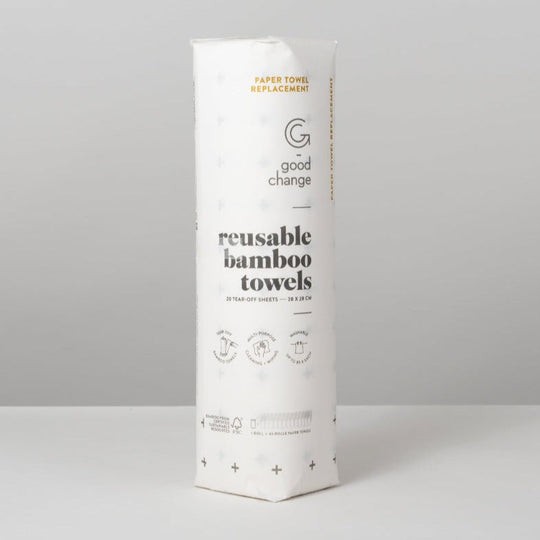
Reusable Bamboo Towels

